Karing Setup Guide: Adding a Proxy, Subscriptions and Routing Rules on Every OS

Karing is a free proxy client built on the sing-box core, available for Windows, macOS, Linux, Android, iOS and Apple TV. To use it with your own proxy, install the app, tap Add Profile and either fill in a Custom profile with the server, port, login and password, import a Clash-style YAML file, or paste a subscription link. Then pick the server on the home screen, switch Connect on, and fine-tune which traffic goes through the proxy under Settings → Diversion.
Most Karing tutorials end when the connect switch turns green. This guide also covers the platform differences that trip people up, a ready YAML file for a SOCKS5 proxy with authentication, how subscriptions and imported files behave on update, and how to build routing rules so that only the sites or apps you choose use the proxy.
SOCKS5 proxies
SOCKS5 proxies with a login and password that work in Karing on every platform
What Karing Is and Where to Get It
Karing is a graphical shell around a modified sing-box core, written in Flutter, so the interface looks almost the same on every system. It reads Clash, V2Ray, sing-box and Shadowsocks configurations, supports standard SOCKS and HTTP proxies as well as protocols such as Shadowsocks, VMess, VLESS, Trojan, Hysteria2 and WireGuard, and comes with built-in GeoIP, GeoSite and ACL rule sets.
| Platform | Minimum version | Where to get it |
|---|---|---|
| Windows | 10, 64-bit | Official site download or GitHub releases |
| macOS | 12, Intel and Apple Silicon | Official site, GitHub releases or brew install karing |
| Linux | 64-bit; current .deb packages need glibc 2.38 or newer | Official site or GitHub releases |
| Android | 8.0 | APK from the official site or GitHub, some third-party stores |
| iOS and tvOS | iOS 15, tvOS 17 | App Store (availability depends on the region) and TestFlight |
Download only from the official site, the GitHub repository or the App Store. Copies on random file hosts are a common way to spread malware disguised as proxy clients.
Use Karing in line with local law, your employer's network policy and the terms of the services you open through the proxy.
What You Need Before You Start
From your proxy provider:
- protocol (SOCKS5 or HTTP; SOCKS5 is the more flexible choice, see our comparison of SOCKS5 and HTTP);
- host and port, for example
203.0.113.15and1080; - login and password, or a whitelisted IP if the provider uses IP authorisation.
SOCKS5 proxies with a login and password work in Karing on every platform without extra steps.
Step 1. Install Karing on Your System
Windows
Run the installer. If SmartScreen shows a warning for an unrecognised app, click More info and then Run anyway, but only for a file you downloaded from the official source. To use TUN mode later, start Karing as administrator.
macOS
Install the app from the downloaded package or with Homebrew. On first launch macOS asks for permission to add a network configuration; allow it, otherwise the connection cannot start.
Linux
Install the .deb package with your package manager. If it complains about the C library version, your distribution is older than the package expects; use a newer release or the build that matches your system.
Android
Install the APK (allow installs from that source when asked) and accept the VPN connection request on first connect. Karing uses Android's VPN interface to capture traffic.
iOS and Apple TV
Install the app from the App Store, then allow the VPN configuration on first connect. Apple TV can receive a configuration from the phone by scanning the QR code shown on the TV.
Step 2. Add Your Proxy
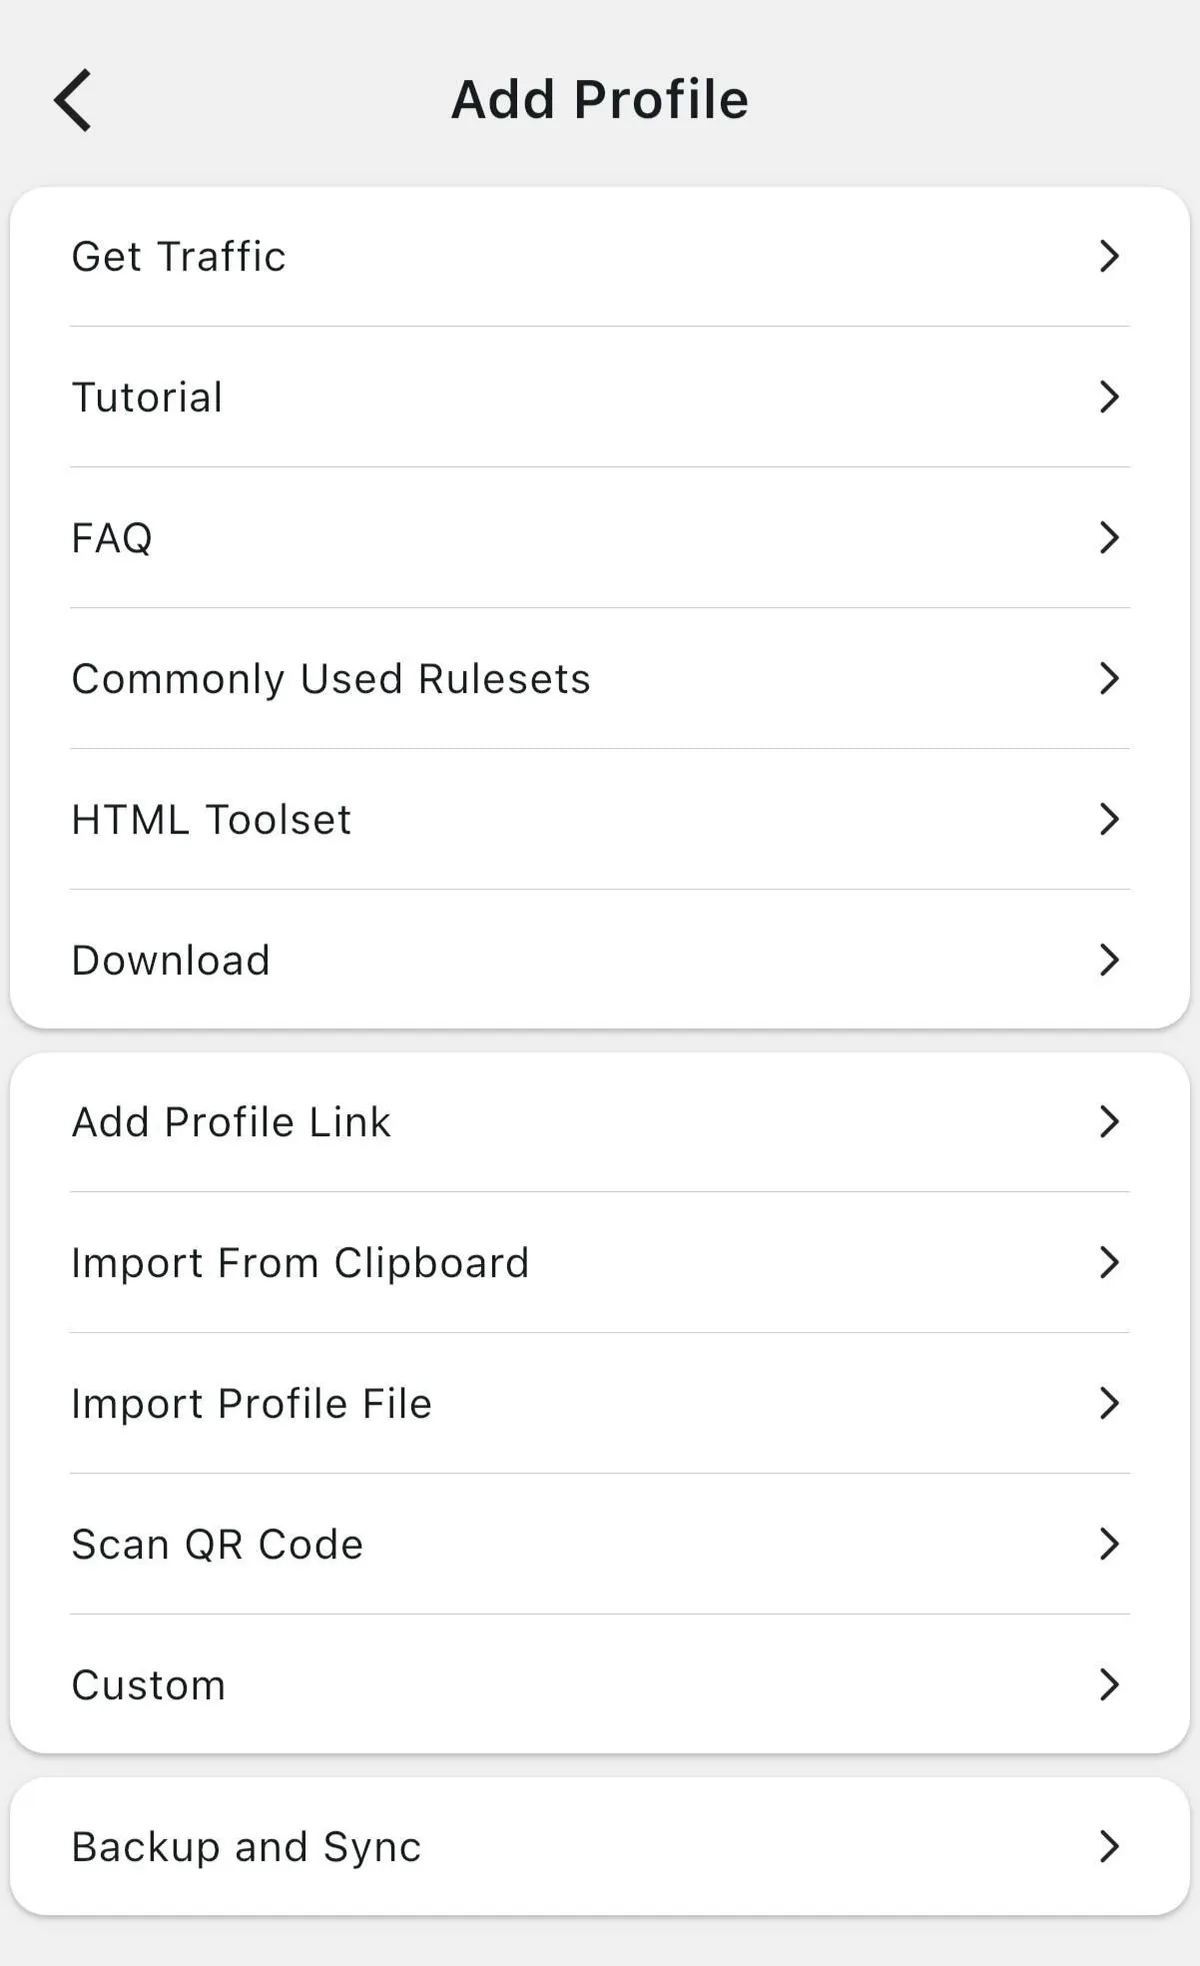
Open the profile menu and tap Add Profile. There are several ways to add a configuration.
Option A. Custom profile
Choose Custom, give the profile a name, add a server, select the type (SOCKS or HTTP), and enter the host, port, login and password. Save it, and it appears under My profiles. The form has changed between versions, so if it misbehaves in yours, use option B.
Option B. YAML file in Clash format
Karing understands full Clash configurations. Save the following as karing-socks.yaml, replace the values with yours and add it with Import Profile File:
proxies:
  - name: work-socks
    type: socks5
    server: 203.0.113.15
    port: 1080
    username: kr-user-41
    password: Fq72mz

proxy-groups:
  - name: Outbound
    type: select
    proxies:
      - work-socks
      - DIRECT

rules:
  - MATCH,Outbound
For an HTTP proxy change type to http. Keep in mind that profiles imported from a local file cannot be updated from inside the app: after changing the file, import it again.
Option C. Subscription link
If your provider or administrator gives you a subscription URL, use Add Profile Link and paste it. Karing understands Clash, V2Ray, sing-box, Shadowsocks and plain subscription formats. Subscriptions refresh from the link, and the setting Prioritize proxy download configuration makes Karing fetch updates through the current server while connected.
You can also use Import from Clipboard or Scan QR Code when the configuration comes as text or a QR image.
Step 3. Connect and Check the IP
- Return to the home screen. Karing selects a server automatically.
- Tap the server name at the bottom to open Select Server and choose your proxy.
- Optionally press Delay Detection to measure latency; a triangle icon marks an error, and tapping it shows the reason.
- Switch Connect on. The control turns green when the connection is up.
Open our proxy checker in a browser: it should show the proxy's IP and location rather than yours.
Step 4. Set Up Routing Rules
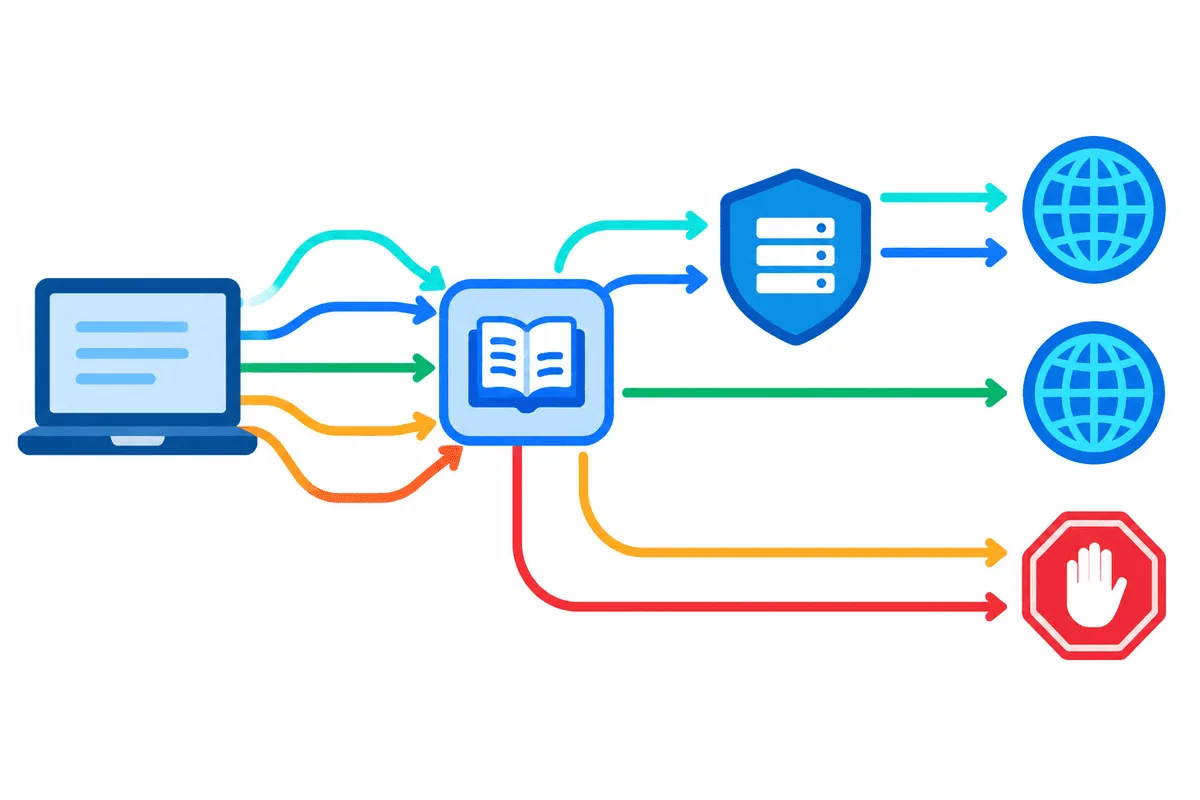
Routing (Karing calls it diversion) decides which connections go through the proxy and which go direct. It lives under Settings → Diversion.
Region presets
The Country and Region setting turns on built-in rules for your region. Their typical job is to keep local sites on a direct connection, which saves proxy traffic and avoids odd results on local services.
Built-in rule sets
Go to Settings → Diversion → Diversion rules → Edit, open a group, choose Rule Set (build-in), tick the GeoSite, GeoIP or ACL sets you need, save and apply with Set diversion.
A custom group for work sites
Suppose only your company's tools should use the proxy:
- Open Diversion rules → Edit → Custom diversion group and tap +.
- Name the group, for example
work-tools. - Add rules (see the table below), for example a Domain Suffix entry with your company domain.
- Save, return to the diversion rules list and set the group's action to Current selection (the server picked on the home screen).
- Make sure the default traffic goes direct, then reconnect so Karing applies the changes.
| Rule type | Matches | Example |
|---|---|---|
| Domain Suffix | A domain and all its subdomains | example.com |
| Domain | Only the exact domain | crm.example.com |
| Domain Keyword | Any domain containing the word | example |
| IP Cidr | An address range with a full mask | 198.51.100.0/24 |
| Rule Set | A remote set in srs or json format | Raw link to a rule file |
| Process Name / Process Path | A Windows program | chrome.exe |
| App Package | An Android app | com.example.app |
Rules are case sensitive. Available actions are current selection, auto selection, direct connection, interception (block) and none (rule disabled).
Step 5. TUN, Per-App Proxy and Sharing
- TUN creates a virtual network interface so that apps which ignore system proxy settings are also routed. On Windows, Karing needs administrator rights for it.
- Proxy by Application (Android only) sits under Settings → TUN. With Whitelist Mode on, only checked apps use the proxy; with it off, checked apps bypass the proxy and everything else uses it. Grant Karing the permission to read the app list first.
- Network sharing lets other devices on your network use the computer running Karing as a SOCKS proxy, handy for a smart TV or a console.

Backup and Sync copies profiles and settings between devices via iCloud (Apple platforms), WebDAV, LAN sync or export files.
Troubleshooting
Connect turns on, but the IP does not change. The diversion rules send that site direct, or the browser has its own proxy settings. Check the rule group and the browser.
Authentication error. The login or password is wrong, or the provider expects IP authorisation; whitelist your current public IP.
Windows: TUN does not start. Run Karing as administrator.
Profile does not update. It was imported from a local file. Import the edited file again or switch to a subscription link.
Some apps on Android ignore the proxy. Per-app mode excludes them. Review the list under Proxy by Application.
If you also use other clients, compare the workflow with our guides to Clash and v2rayN.
Karing FAQ
Is Karing free?
Yes. The app is free to download from its official site, GitHub and the App Store, and you add your own proxy or subscription.
Can I add a regular SOCKS5 proxy with a login and password to Karing?
Yes. Use a Custom profile with the SOCKS type, or import a Clash-style YAML file with a socks5 entry that includes the username and password.
What subscription formats does Karing support?
Clash and Stash, V2Ray, sing-box, Shadowsocks, plain sub links and GitHub-hosted configurations. Paste the link with Add Profile Link.
How do I send only some sites through the proxy in Karing?
Create a custom diversion group with Domain Suffix or Domain rules, set its action to the current selection and let the remaining traffic go direct. Reconnect to apply the change.
Does Karing support per-app proxy?
On Android, yes: Settings, then TUN, then Proxy by Application, with a whitelist or blacklist mode. On Windows you can route by process name in diversion rules.