How to Set Up a Residential Proxy in SessionBox One: Step-by-Step Instructions
 ·August 23, 2026·7 min read
SessionBox One is used to work with separate browser profiles within a single environment. Each profile can be configured individually, including connecting through a proxy. This is convenient in cases where different sessions require different network settings and separate connection configurations.
Browse Through Residential IPs
Use Node Proxy residential proxies with your everyday browser.
Step 1. Install SessionBox One
First, open the Chrome Web Store and find the SessionBox One extension.
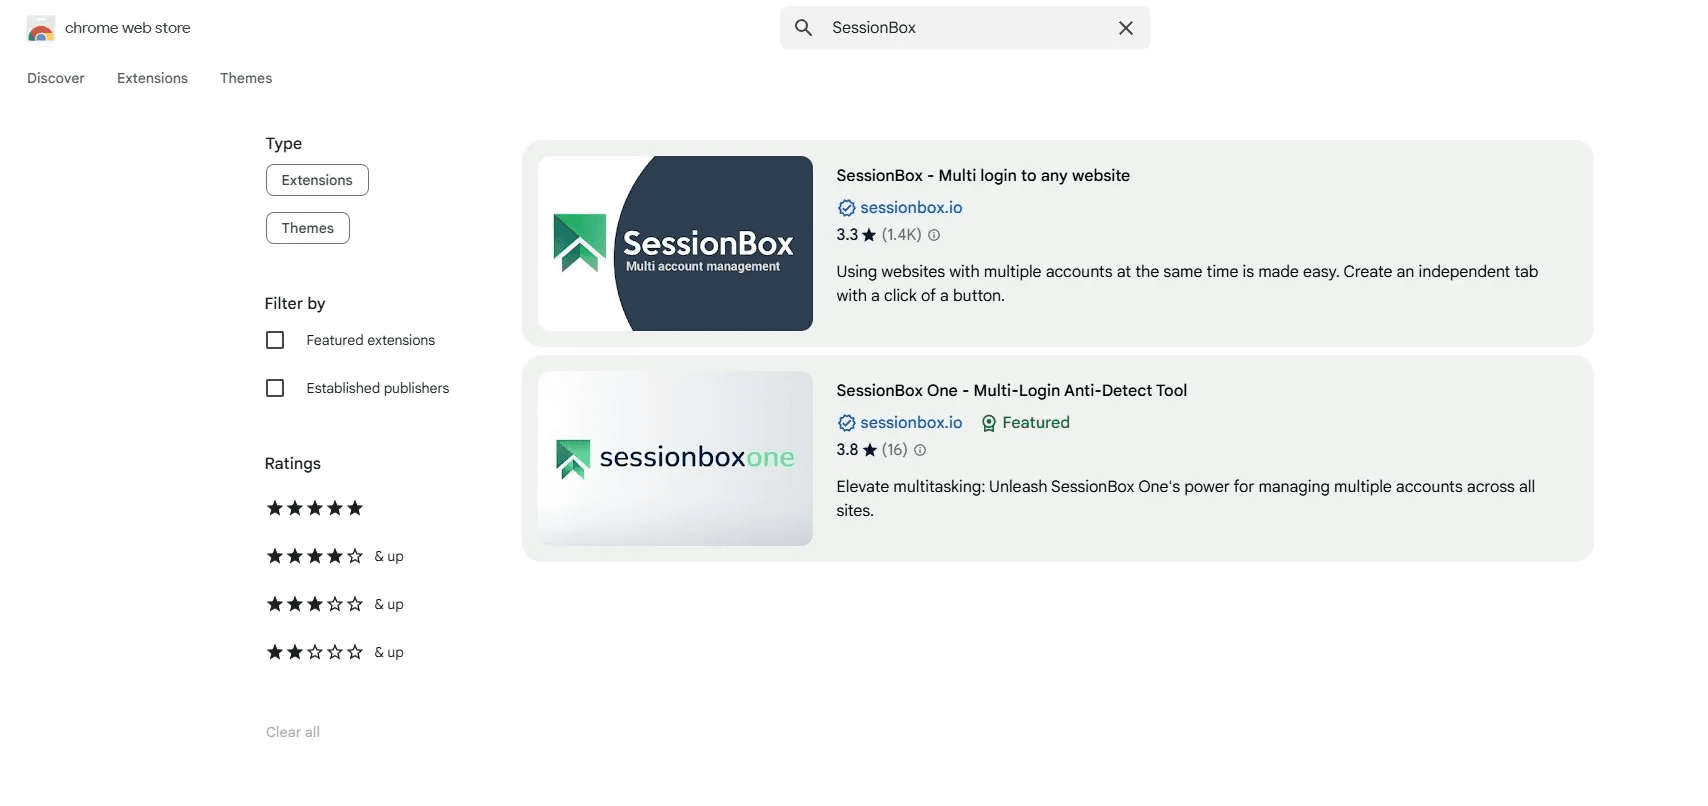
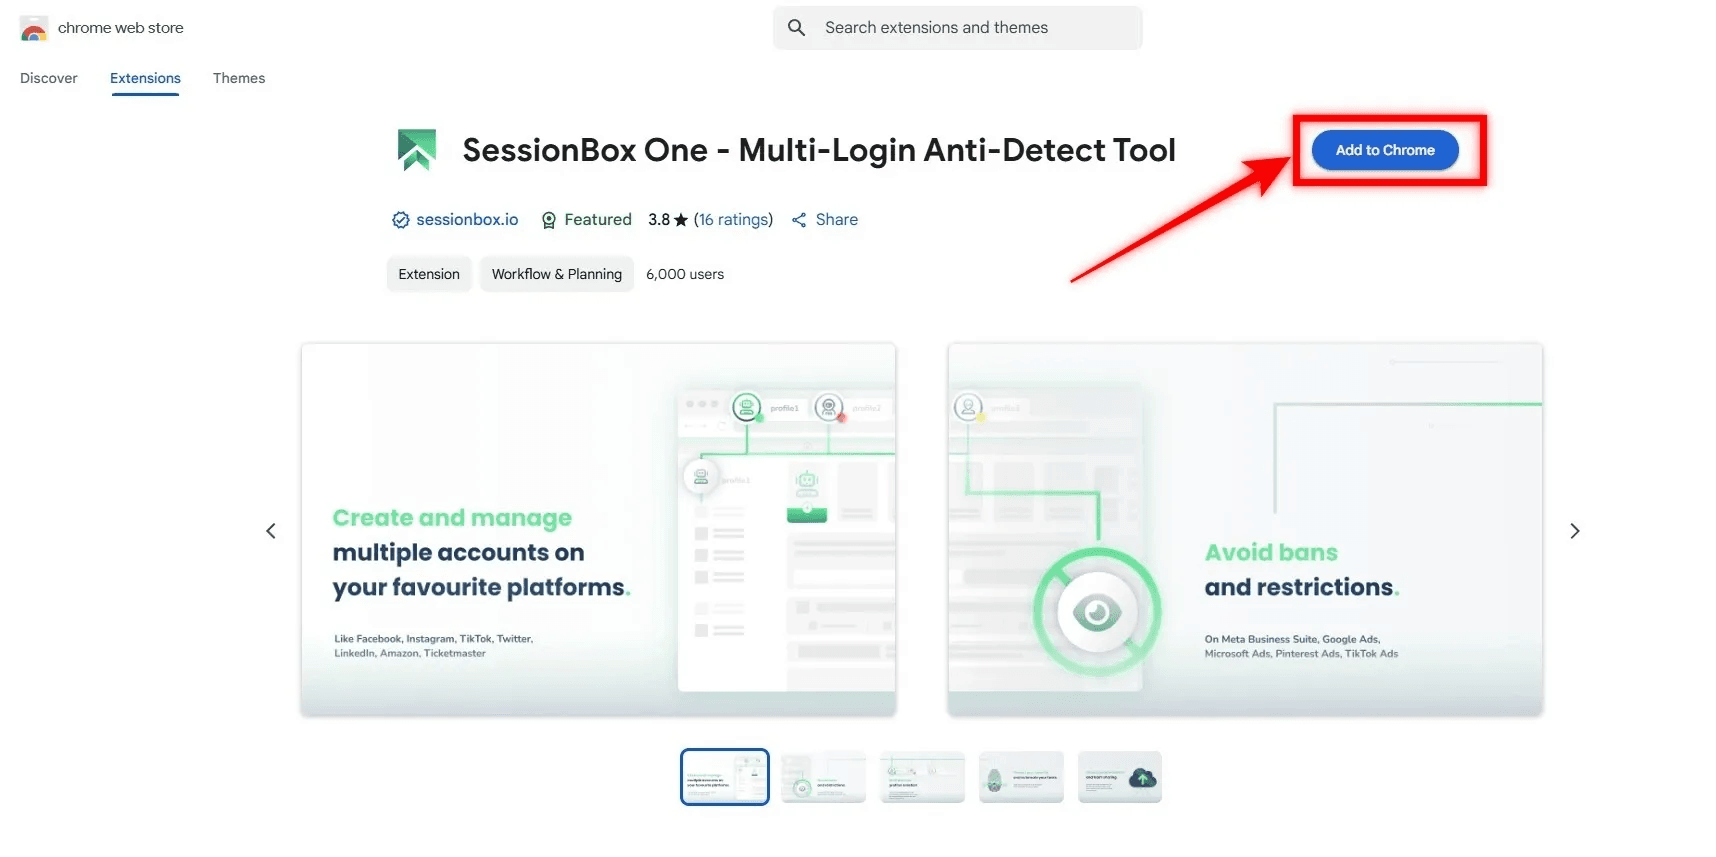
Install it in the browser like a regular Chrome extension.
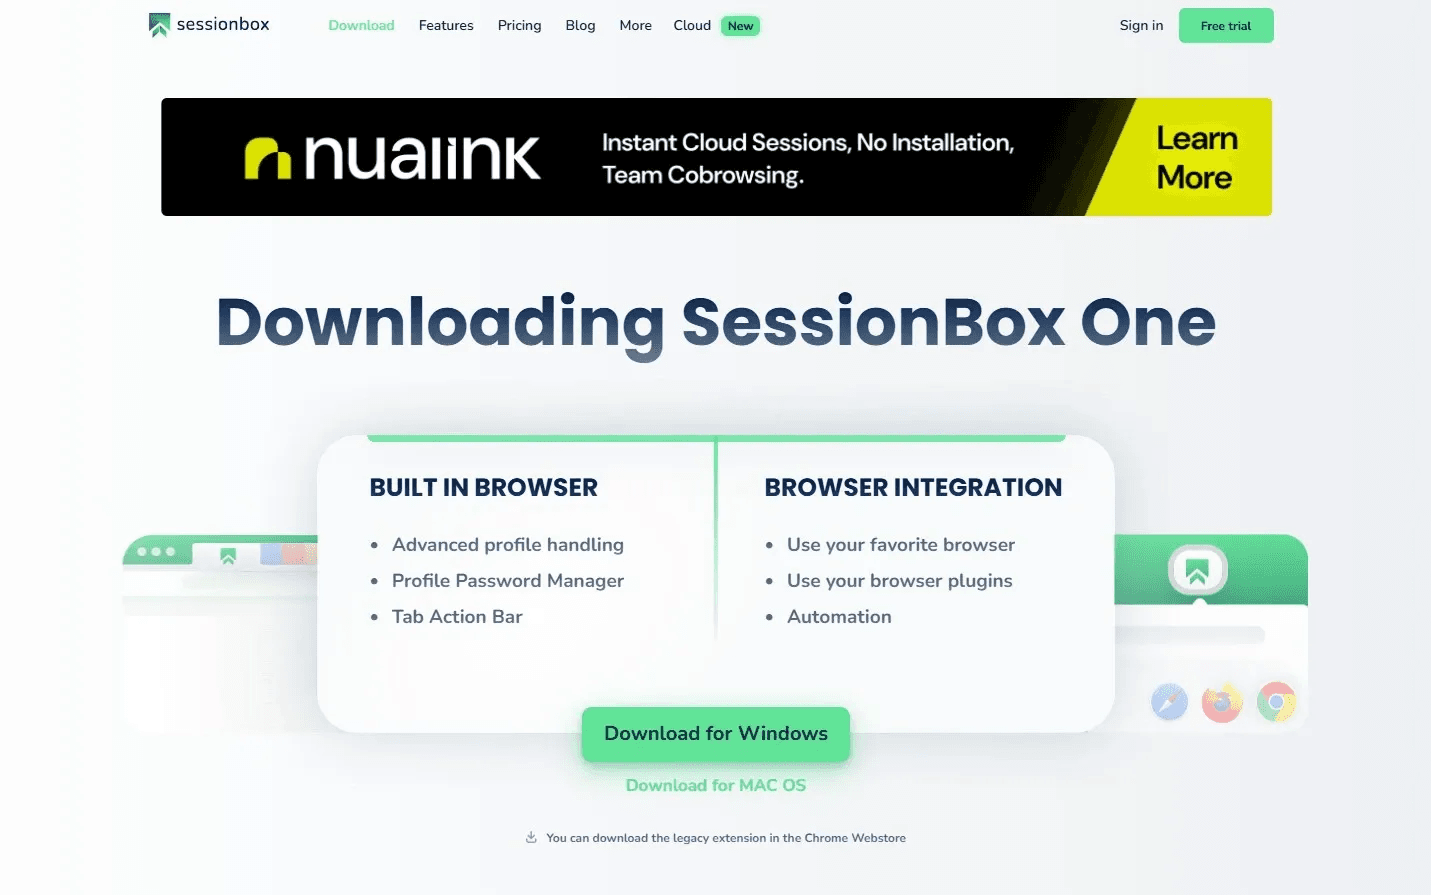
After that, download the SessionBox One application from the official website and complete the installation.
Once the installation is complete, open SessionBox One and sign in to your account. If you are not yet registered, create a new account.
Step 2. Create a Profile
After signing in, open the SessionBox One interface and create a new profile. To do this, click Create Profile.
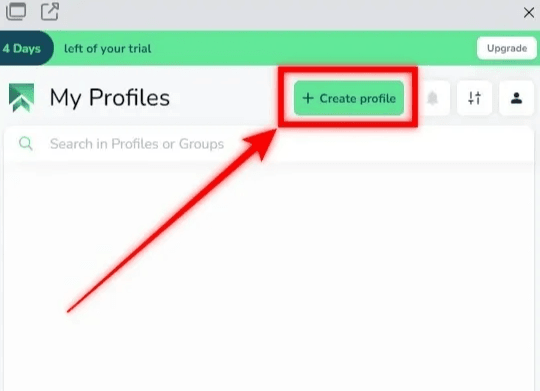
When creating a profile, specify its name. If the system prompts you to choose a profile type, select the appropriate option. In some cases, the form also requires you to fill in the URL field.
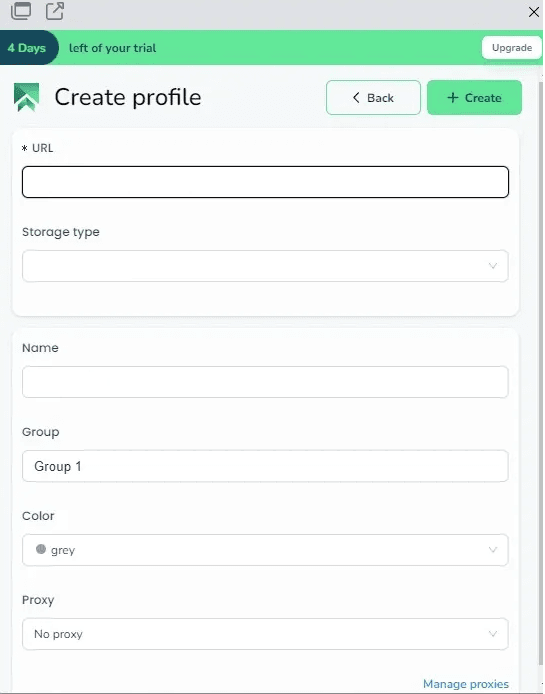
After confirmation, the new profile will appear in the general list.
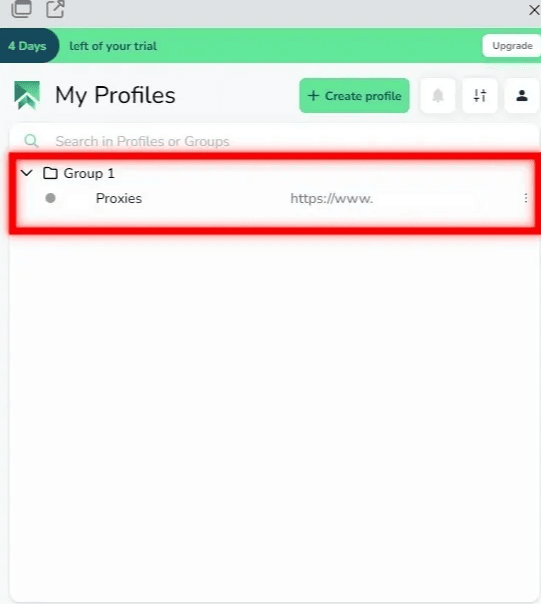
Step 3. Go to Profile Editing
Find the created profile in the SessionBox One interface. Next to it, open the three-dot menu and select Edit Profile.
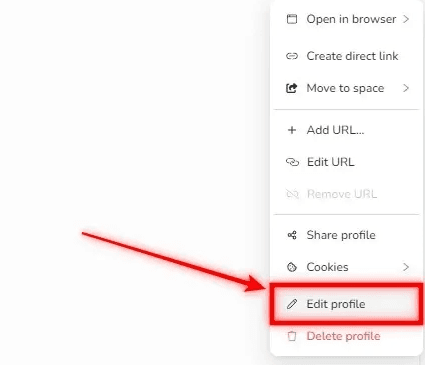
Further proxy configuration is carried out именно through profile editing. Inside the profile, find the Manage Proxies section.
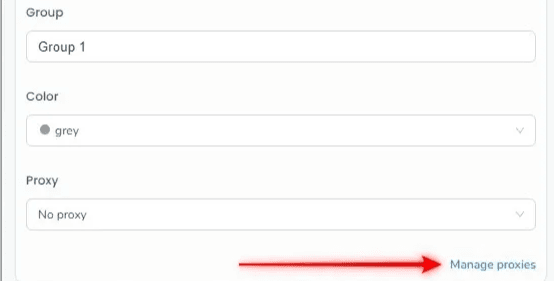
Step 4. Add a New Proxy
If the proxy list is still empty, open proxy management and click Add Proxy.
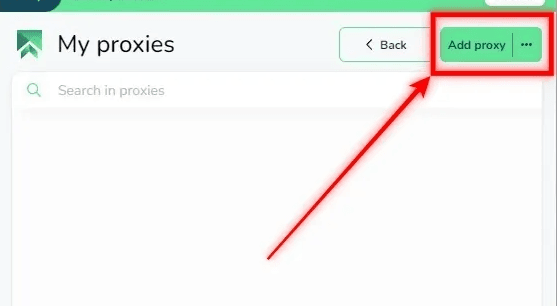
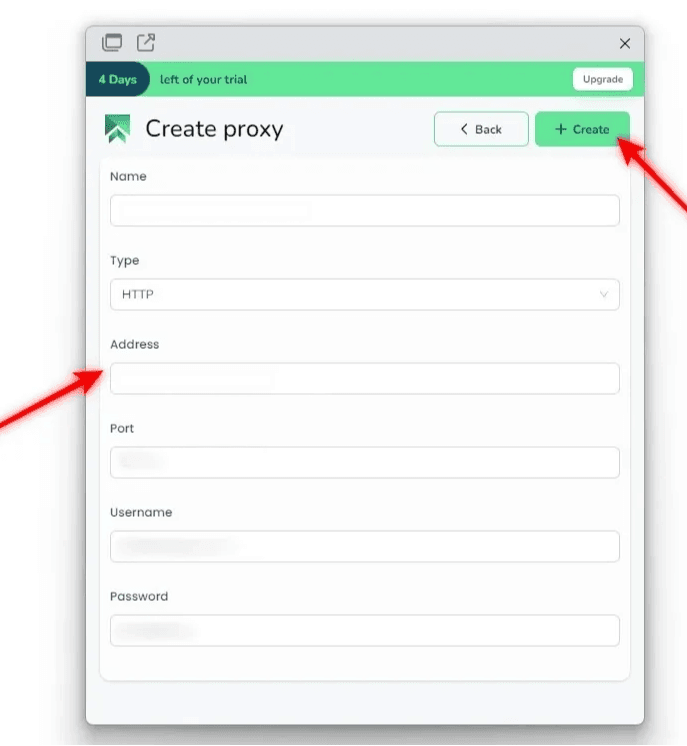
After that, a form will appear where you need to enter the connection parameters. The following data is usually specified (this information can be found on our website):
• proxy name;
• proxy type;
• IP address or host;
• port;
• username;
• password.
The name is needed only for internal identification so that you can quickly find the required proxy in the list. The other parameters must be entered accurately, without mistakes. If even one value is entered incorrectly, the proxy may not be applied to the profile.
After filling out the form, click “Create”.
Step 5. Assign the Proxy to the Profile
After the proxy has been added to the general list, return to the settings of the required profile. Find the Proxy field and select the previously saved proxy from the list.
Confirm the change and save the profile. After that, the selected profile will launch with the assigned proxy.
It is important to keep in mind that adding a proxy to the manager and linking it to a profile are two separate actions. Saving a proxy by itself does not mean that it is already being used by a specific session.
Step 6. Import Multiple Proxies if Necessary
If you need to add several proxies at once, it is more convenient to use list import instead of manual addition.
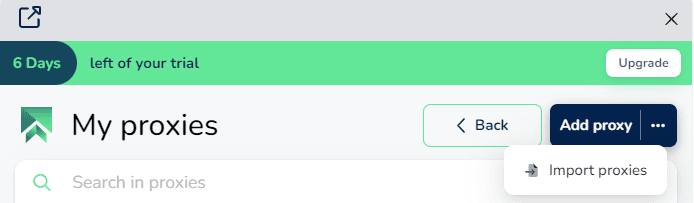
To do this, open the proxy management section, click the additional menu next to the Add Proxy button, and select the import function.
Then prepare the proxy list in the appropriate format, paste it into the corresponding field, and confirm the import.
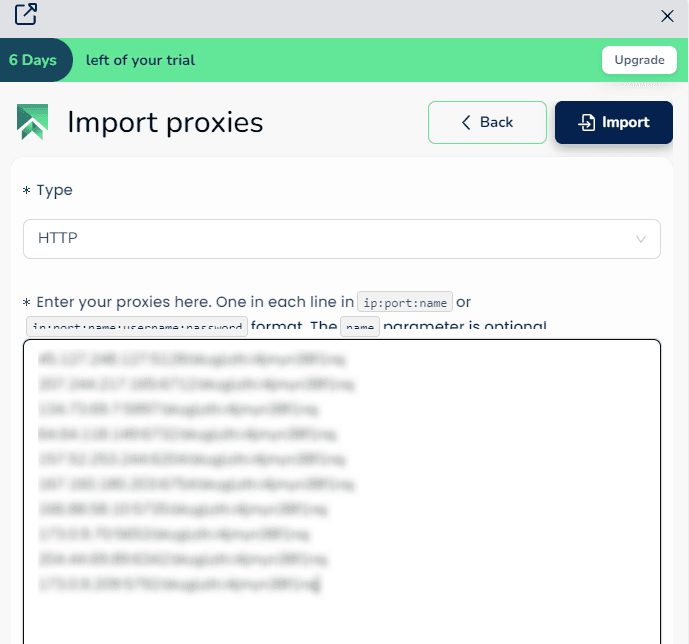
After that, all uploaded proxies will appear in the general list. Each of them can be assigned separately to the required profile through the SessionBox One settings.
This method is especially convenient if you work with several profiles at once and want to quickly distribute different connections between them.
Step 7. Check That the Proxy Works
After completing the setup, open the profile to which the proxy was linked and check which IP address is detected in that session. If the required address is displayed, the configuration has been completed correctly.
If the IP has not changed, it is worth checking:
• whether the proxy type is specified correctly;
• whether the address and port are entered correctly;
• whether there is an error in the username or password;
• whether the proxy is actually assigned to this specific profile.
Most often, the problem is related either to incorrectly entered parameters or to the fact that the proxy was added to the list but was not selected in the settings of the specific profile.
If several profiles are used in SessionBox One, a proxy is assigned separately to each of them. The same proxy list can be stored in the manager, but the linking is performed manually for each session.