Residential Proxy Setup in Che Browser
 ·July 23, 2026·5 min read
Why connect a proxy in Che Browser
When working with multiple accounts and profiles, it is important that they do not use the same IP address. If different sessions go online through a single connection, this may raise suspicion from websites and services, especially on platforms with stricter activity monitoring.
A proxy in Che Browser solves several practical tasks at once. First, it helps separate profiles by assigning them different IP addresses. Second, it makes it possible to use the required connection geography if a service depends on the region. Third, it simplifies work with multi-profile scenarios where the isolation of each session matters.
The optimal approach is to assign one proxy to one profile. This setup reduces overlap between accounts.
Proxies That Look Natural
Real residential IPs for automation, data collection, and account management.
How to set up a proxy in Che Browser
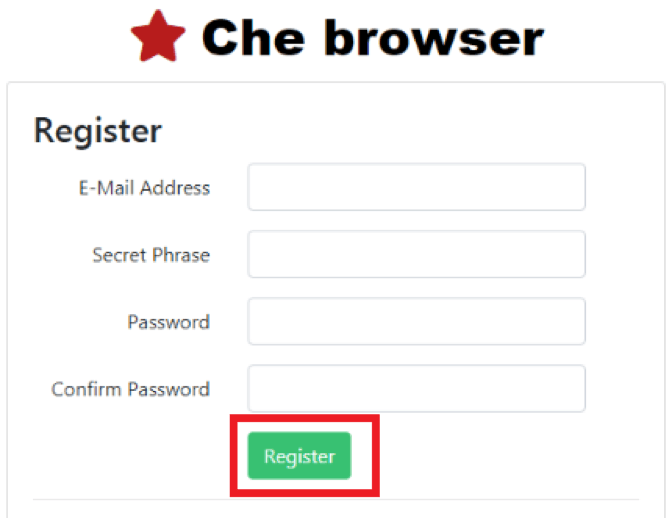
Step 1. Open the browser and log in to your account
Launch Che Browser and sign in to the system using your account credentials.
Step 2. Go to the profile list
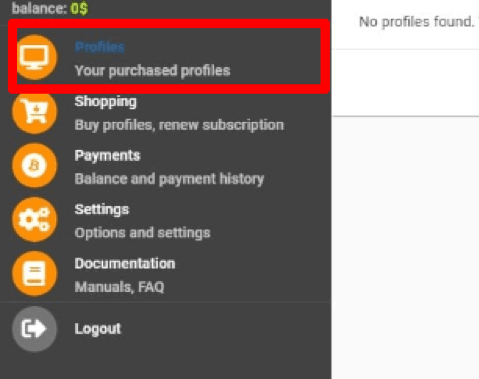
Open the profiles section in the side menu.
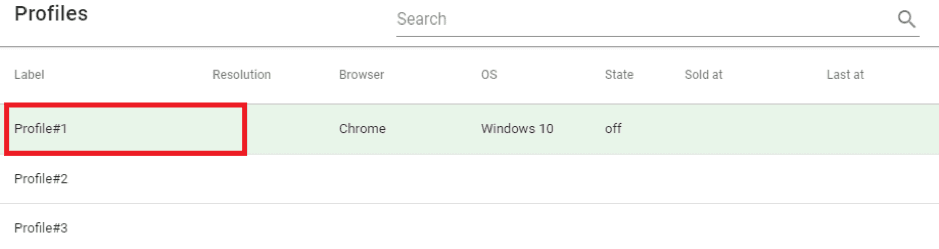
Find the profile for which you need to assign a separate connection.
Step 3. Open the settings of the required profile
Select the profile and open its parameters through the Settings option.
Step 4. Enable connection through a proxy
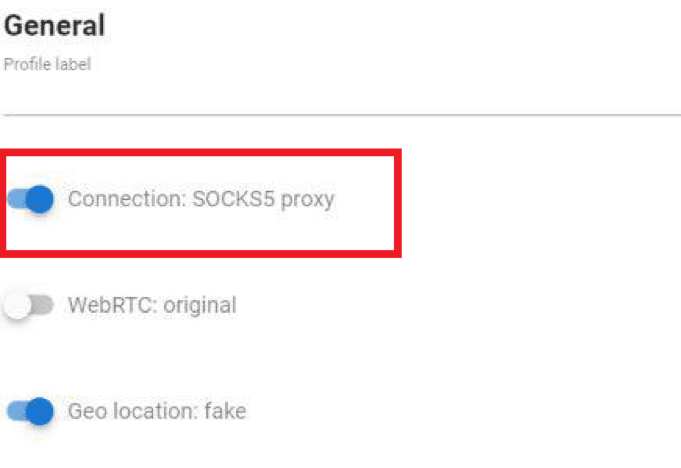
In the profile settings, find the Connection parameter and switch it to the active state — On.
Step 5. Enter the proxy details
Specify the connection parameters in the corresponding fields (this information can be found on our website node-proxy.com):
IP address, Port, Username, Password.
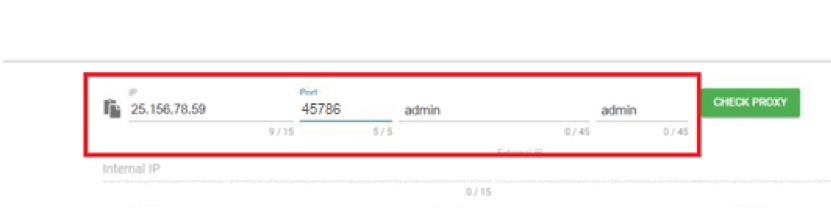
It is important to enter the data without mistakes. An incorrect port, username, or password usually leads to a failure during the connection check.
Step 6. Check the proxy
Click Check Proxy so that the browser can perform the verification.
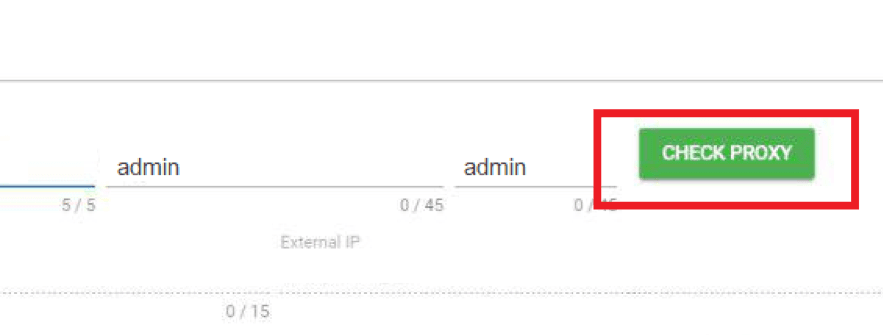
After the test, the system will show the result. If the connection is working, the status will be successful.
Step 7. Save the settings
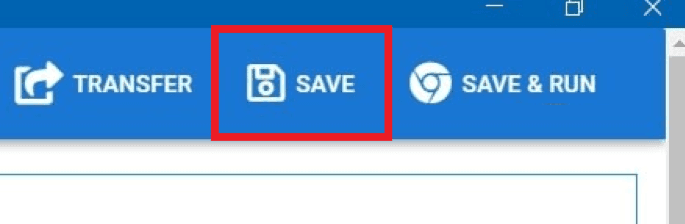
After a successful check, click Save. The setup is now complete, and the profile will work through the specified proxy.
What to do if the proxy fails the check
If Che Browser shows an error at the verification stage, it is worth checking the details: an incorrectly entered IP address, the wrong port, or an error in the username or password.
What is important to consider when working with profiles
The main rule is not to use the same proxy for several profiles at once if clear session separation is required. It is much more reliable to assign a separate proxy to each profile. This approach makes profile management easier, reduces the risk of overlap by IP, and makes work in Che Browser more stable.
Conclusion
Setting up a proxy in Che Browser comes down to several actions: open the profile, enable the Connection parameter, enter the Socks5 proxy details, check the connection, and save the changes. The procedure takes just a few minutes, but it is this step that determines how correctly the profiles will work afterward.