How to Set Up a Residential Proxy in Maxthon Cloud Browser Step by Step
 ·August 26, 2026·6 min read
Maxthon Cloud Browser supports manual proxy configuration through its built-in settings. This makes it possible to assign a separate server for the browser, change it when necessary, or quickly switch to another configuration.
Flexible Browser Connections
Change GEOs and use different workflows with residential IPs.
Step 1. Open Maxthon and sign in to your account
Launch Maxthon Cloud Browser. If you use synchronization, cloud storage, or other account features, sign in to the system first.
Step 2. Go to the browser menu
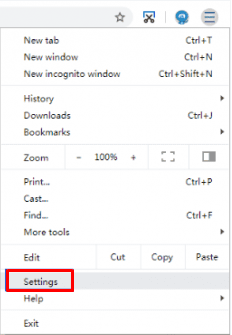
At the top of the window, click the menu icon with three lines. Then open the Settings section.
Step 3. Open the advanced settings
On the left side of the window, find the Advanced section and open it. This section contains additional browser parameters, including connection settings.
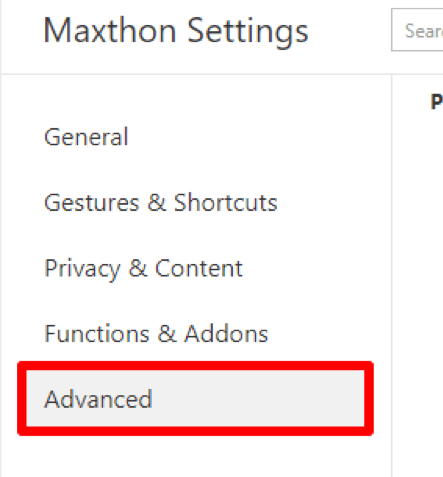
Step 4. Find the Proxy Settings block
In the advanced settings section, open Proxy Settings. In this block, enable the Use custom proxy setting option so that the browser starts using the manually specified configuration.
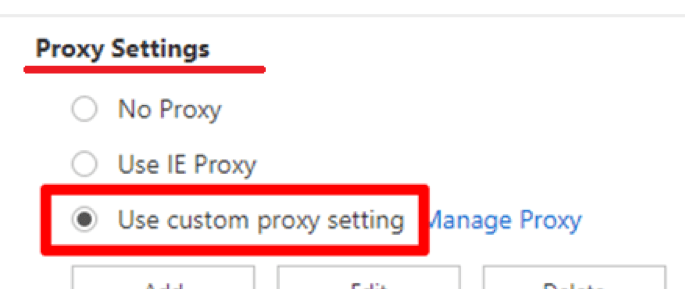
Step 5. Add a new proxy server
Click the Add button. A form for creating a new connection will open.
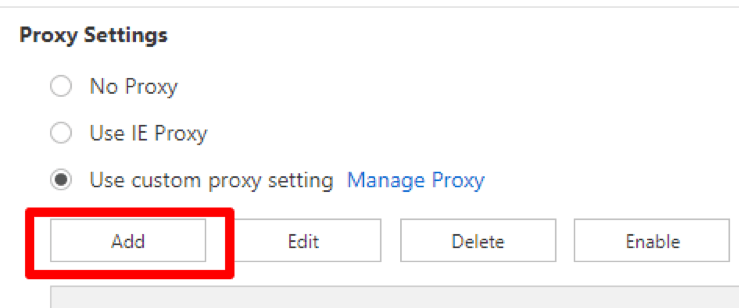
Step 6. Enter the proxy details
Specify a connection name — it is needed only for convenience, so that you can distinguish one server from another.
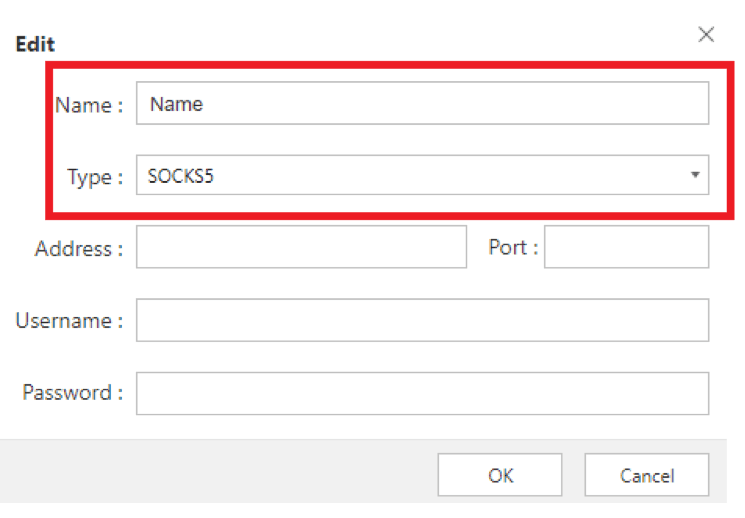
Then select the protocol type and fill in the main fields (this information can be found on our website node-proxy.com):
• IP address;
• port;
• username;
• password.
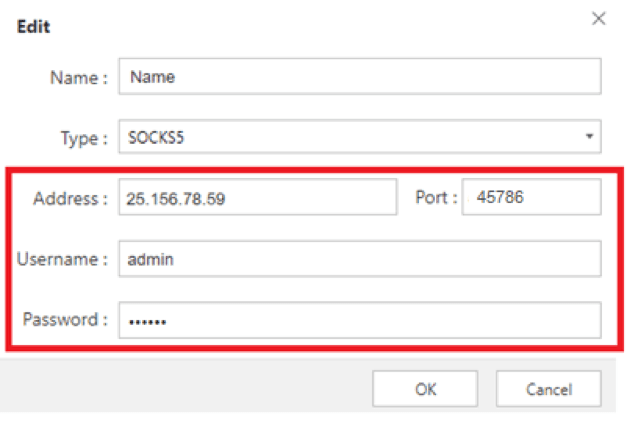
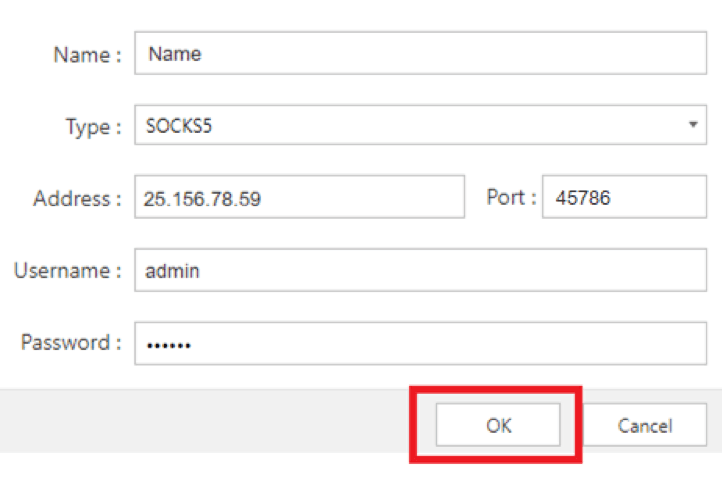
After filling in the fields, click OK to save the settings.
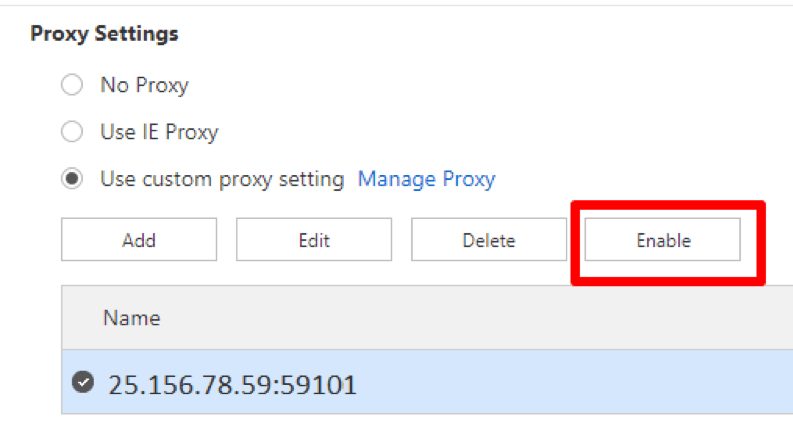
Step 7. Enable the created proxy
After saving, find the added server in the list and click Enable. From this point on, the browser will start working through the selected configuration.
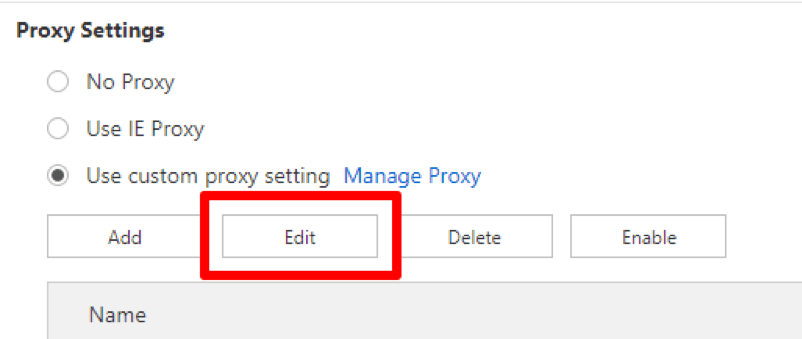
Step 8. Edit the settings if necessary
If you need to change the address, port, or authorization details, click Edit next to the connection that has already been created. This will allow you to update the parameters without adding the server again.
Check that the connection is working
After enabling it, open several websites and make sure that the pages load without errors. If the connection does not work, check:
• whether the IP address is correct;
• the port number;
• the username and password;
• the selected protocol type.
Conclusion
To set up a proxy in Maxthon Cloud Browser, it is enough to open the Settings section, go to Advanced, activate Use custom proxy setting, add a server, enter its parameters, and click Enable. This setup format is convenient if you need to manage the browser’s network connection manually and keep several configurations for different tasks.